

Try Chatwoot, an open-source customer engagement suite to set up multilingual live chat support.
Chatwoot is an open-source customer engagement suite that supports live chat. I have explored it recently and here is what I learned.


Customer engagement and relationship building are the primary pillars to grow your business and sustain. A great product may not just be enough if customer engagement is lacking. We need a better way to talk to our customers, build a relationship, make it easier for them to reach us anytime from anywhere.
Let me introduce Chatwoot, an open-source platform to take care of all your customer engagement and relationship goals, all from one place. Chatwoot helps manage conversations, giving your customers real-time support and the ability to communicate in 25+ languages.
In this article, we will learn about,
- Chatwoot and its features.
- How several language support makes chatwoot an exceptional tool to use.
Chatwoot and its features
To get started with chatwoot, you can create an account to get started within a minute. Alternatively, you can also host your version of chatwoot from the source code. First, let us create an account and get to know the excellent features.
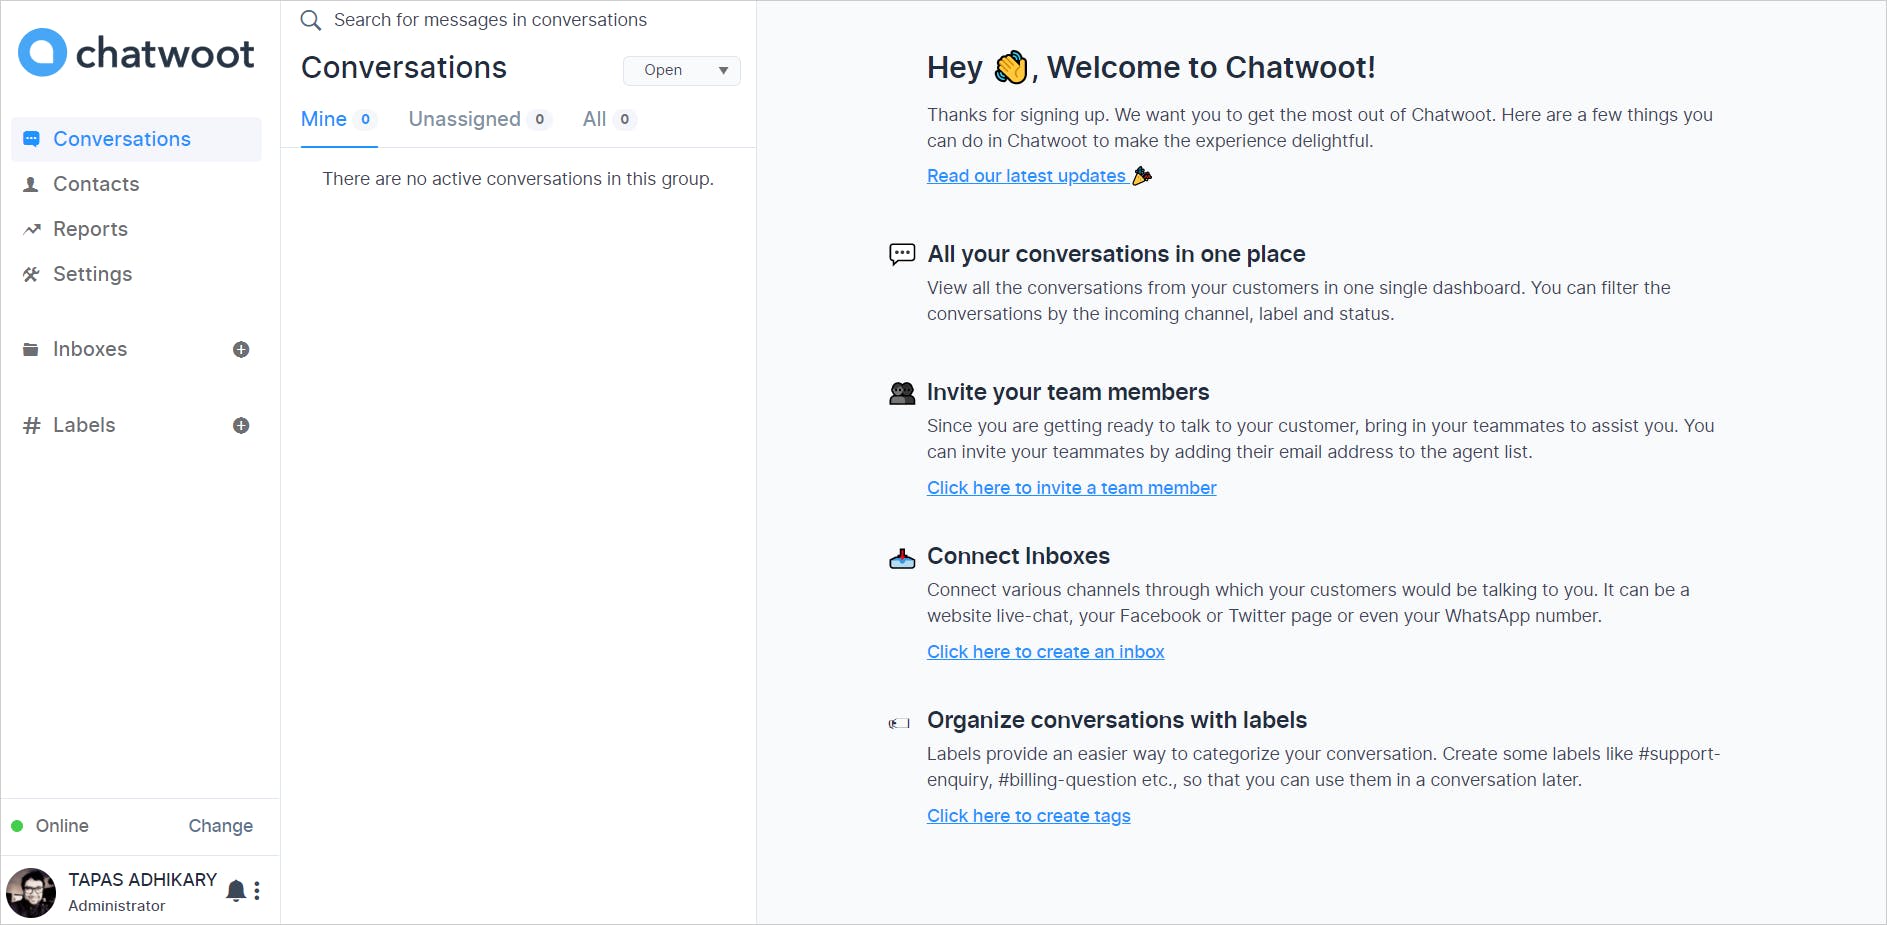
Browse to https://www.chatwoot.com/ and create an account by providing your details like name, email id, account name, and password. Once you verify your email id, you will get full access to the new chatwoot account. Please log in using the credentials to access the chatwoot dashboard. The dashboard is the single place to manage interactions for multiple customers related to one or more products/services/websites using several agents.
Set up your customer support team
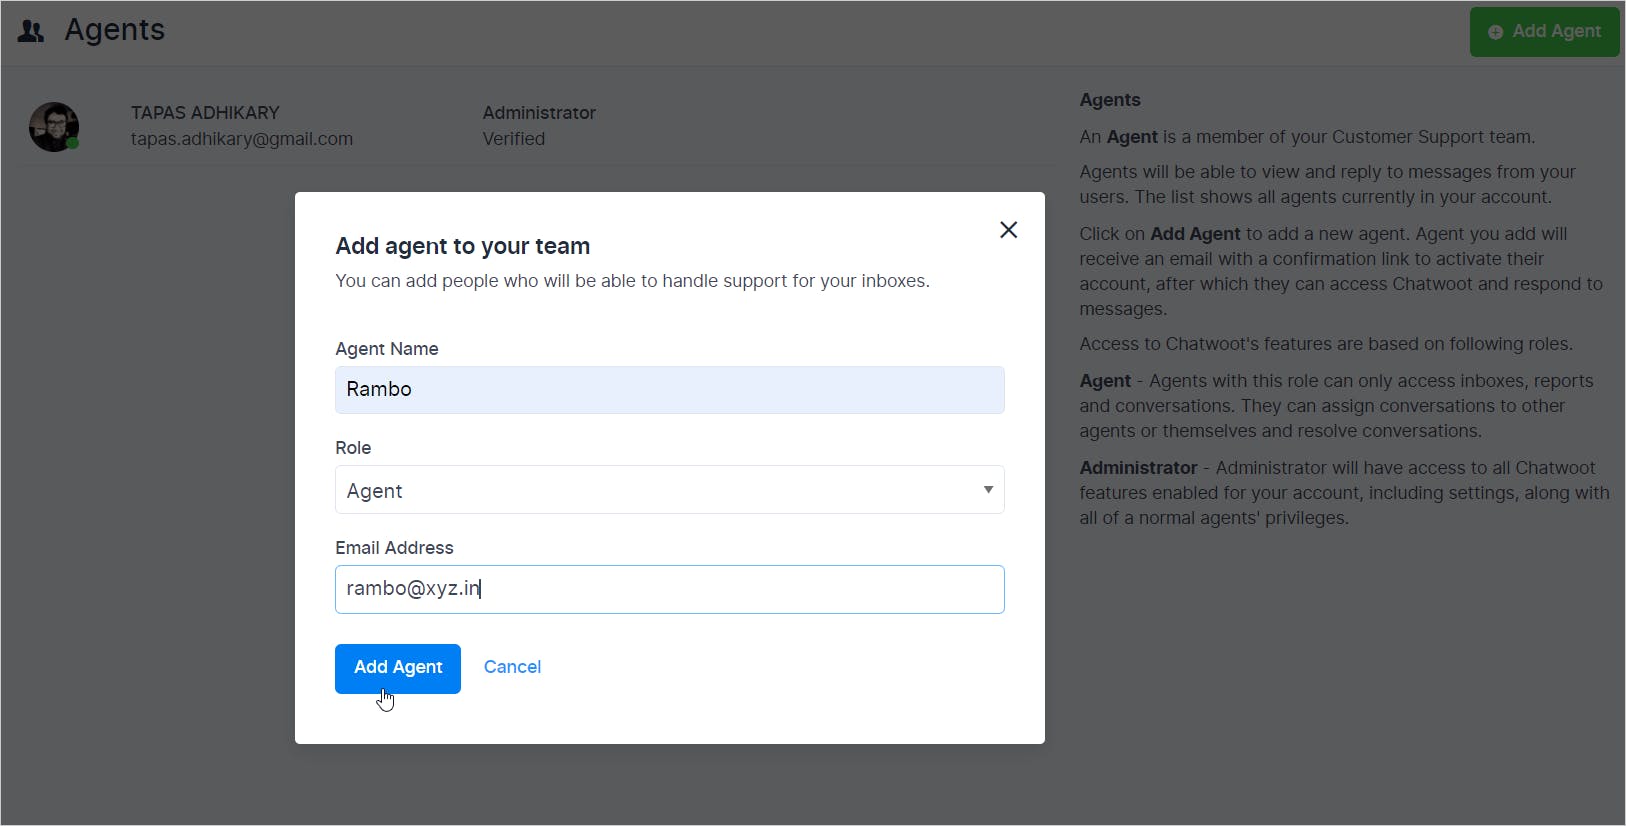
To get things started, you need first to set up a team of agents(aka, team members) responsible for answering queries from your customers. To add one or more agents, click on the link to invite a team member.

Then click on the Add Agent button to add an agent with agent name, role as an agent, and the email id. The agent you add will receive a confirmation email to activate their account. Please be mindful of the role you provide to the agent. An Administrator role will have access to all the chatwoot features. The Agent role can only access inboxes, reports, and conversations.
 You can also create a team and add one or more agents to it.
Connect Inbox - Your customer service channel
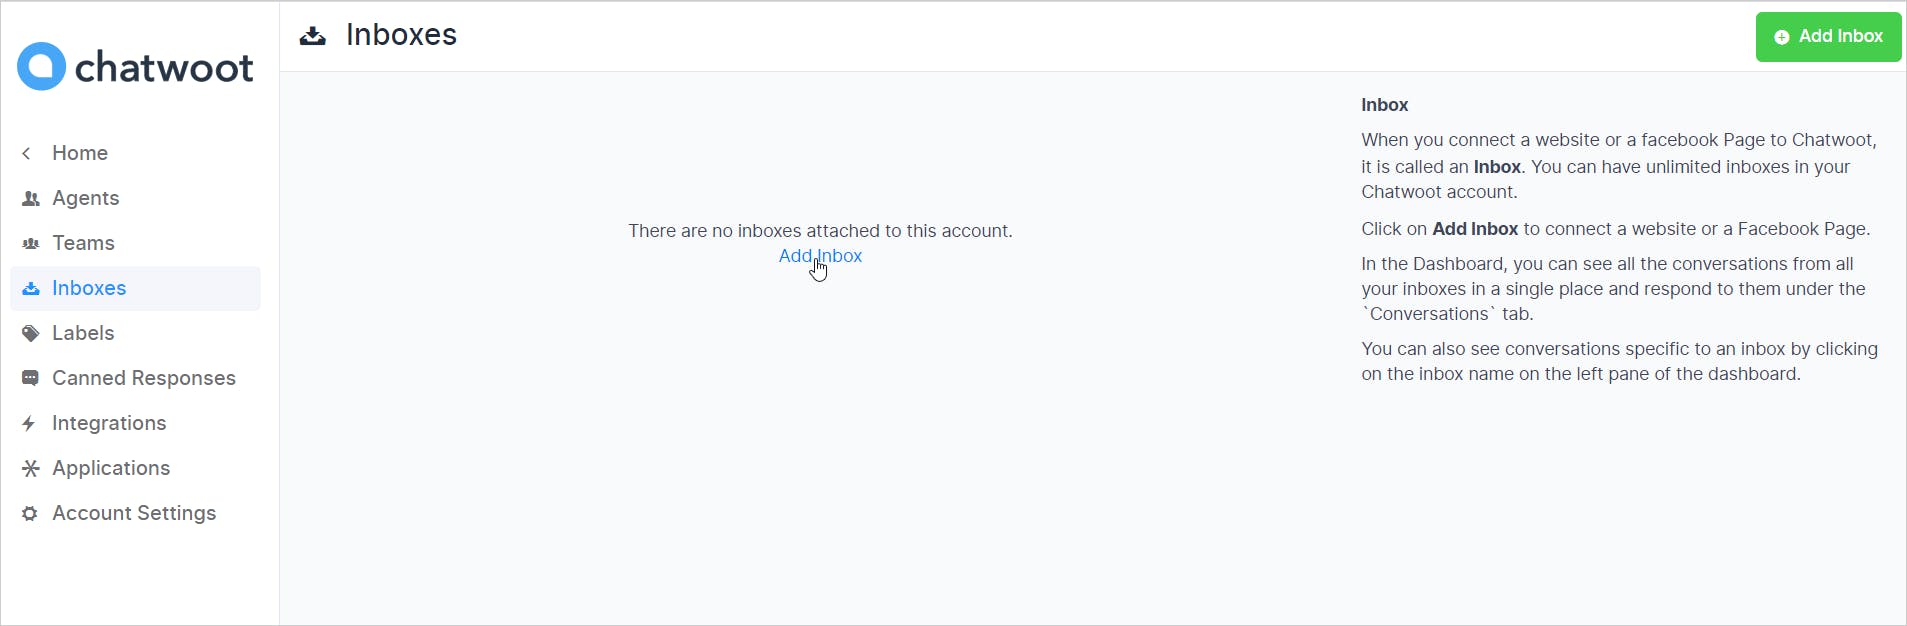
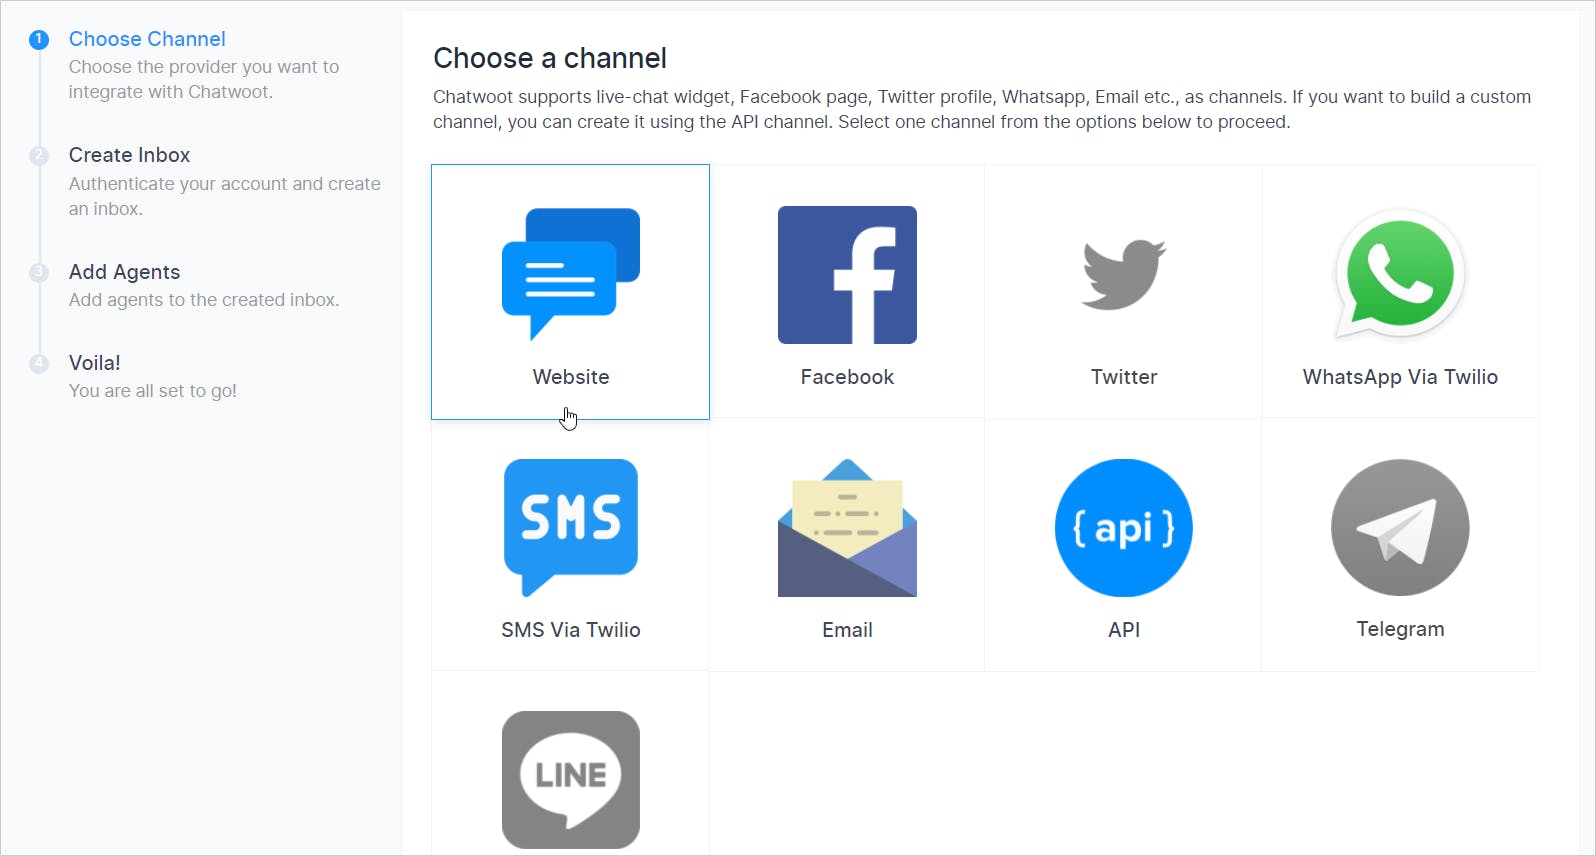
You can connect a website, an app like Facebook, Whatsapp to chatwoot. Each of these connections serves as a customer service channel by chatwoot. It means you will be able to create real-time chat services for each of these channels. It is called an inbox. To create an inbox, click on the Add Inbox link or the button at the top-right corner of the page.
Then you can select the channel from the list of options. Let us choose a website as an option.
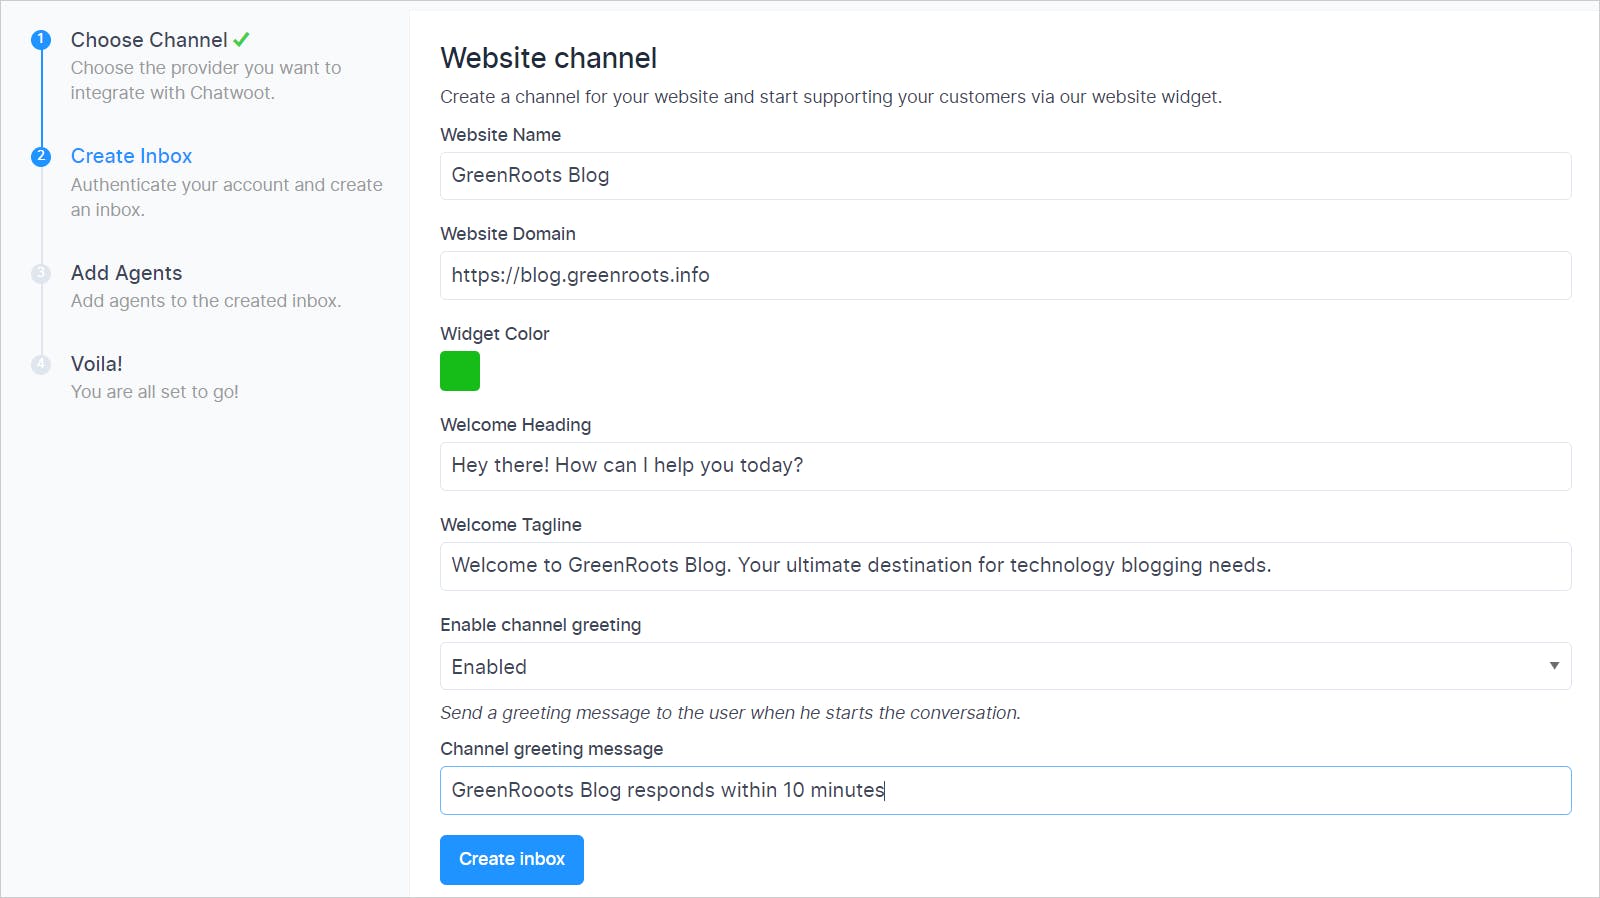
Provide the details of the website channel. You need to specify the website name, domain, color, tagline to create the inbox. Finally, click on the Create Inbox button.
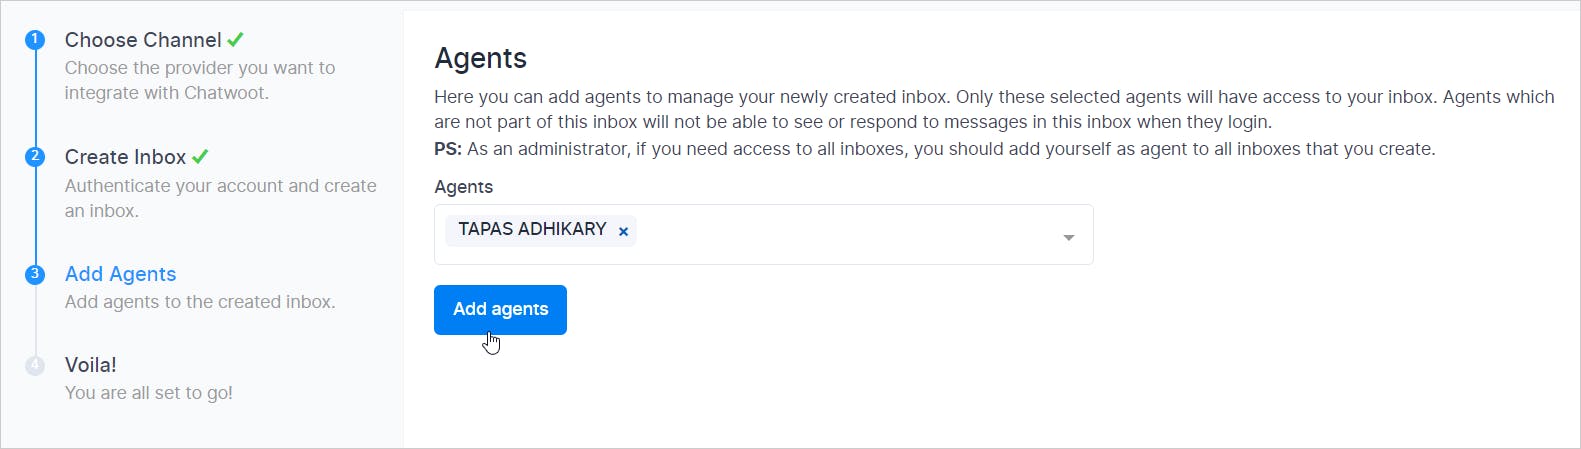
Next, you need to assign an agent to your inbox. Please select an agent and add.
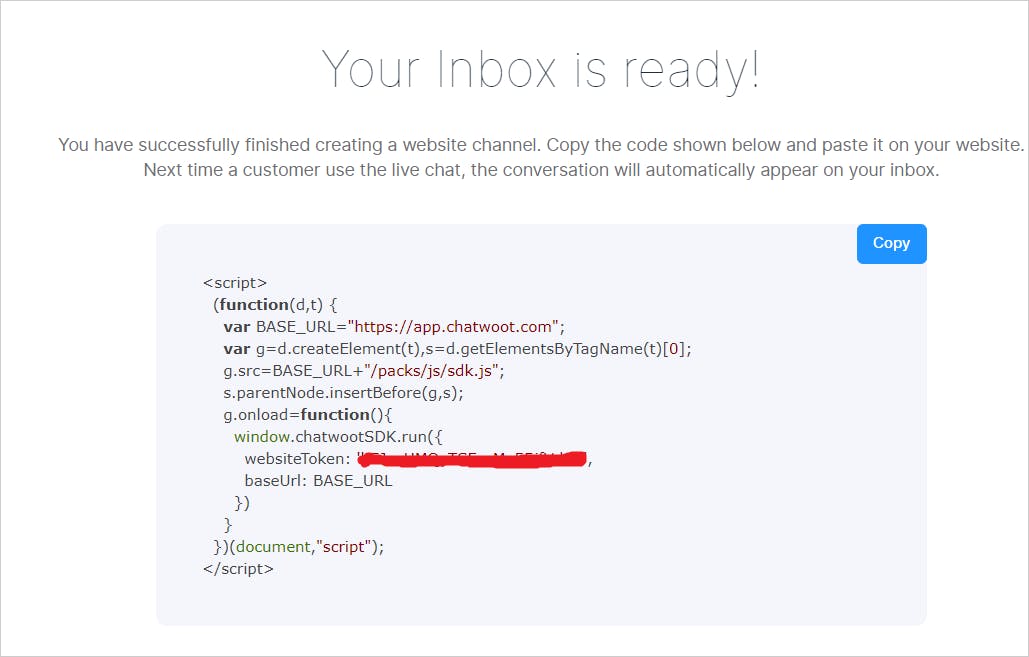
That's all. You have your inbox ready. Now, you will get a script to add to your website's page. This script will add the chatwoot chat button for your customers to initiate a chat.
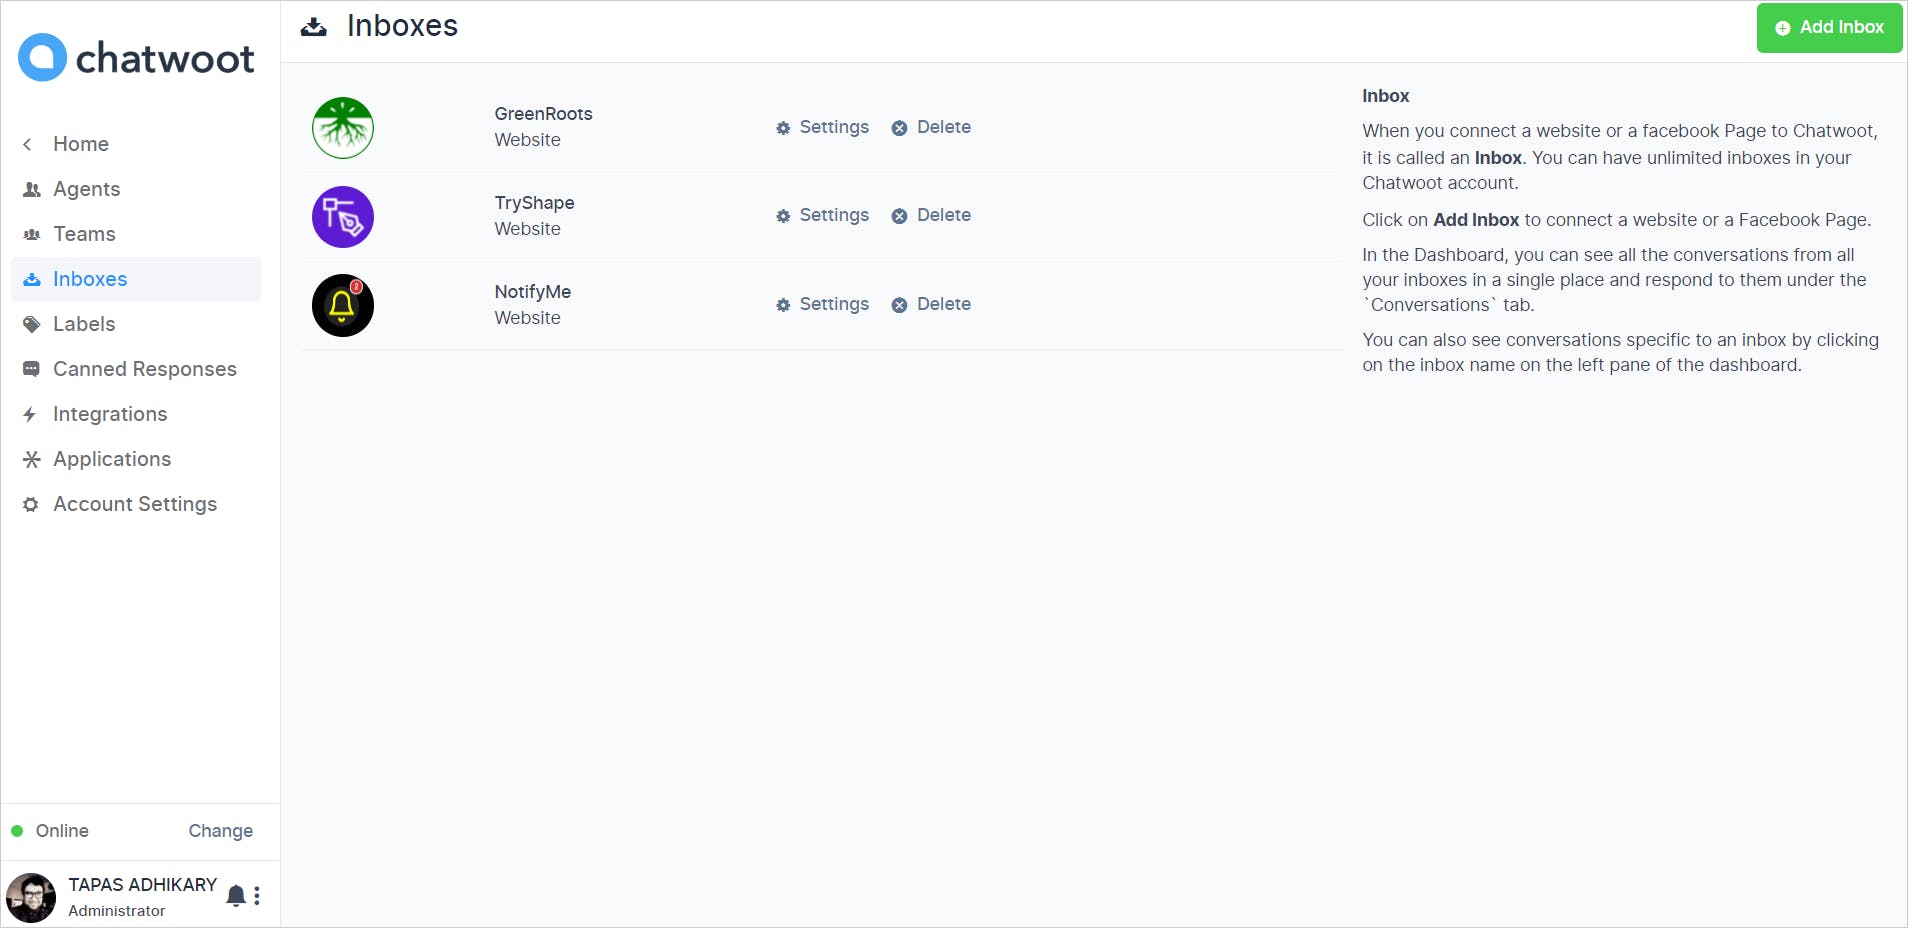
Now, you can create and manage all your inboxes together.
Adding the Chatwoot support to your website
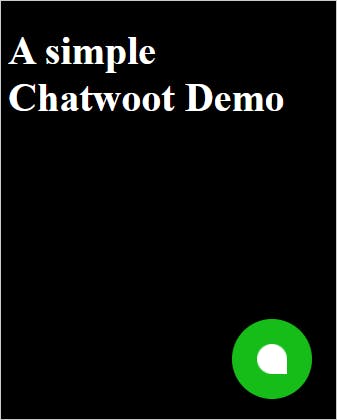
Now we will learn how to use the inbox script to add the chatwoot support to your website. Copy the inbox script and paste it inside the <body> tag of your index(or entry) page of your website. Let us see that as a demonstration with a simple HTML file as shown below,
<!DOCTYPE html>
<html lang="en">
    <head>
        <meta charset="UTF-8">
        <meta http-equiv="X-UA-Compatible" content="IE=edge">
        <meta name="viewport" content="width=device-width, initial-scale=1.0">
        <title>Chatwoot Demo</title>
    </head>
    <body>
        <h1> A simple Chatwoot Demo </h1>
        <script>
          (function(d,t) {
            var BASE_URL="https://app.chatwoot.com";
            var g=d.createElement(t),s=d.getElementsByTagName(t)[0];
            g.src=BASE_URL+"/packs/js/sdk.js";
            s.parentNode.insertBefore(g,s);
            g.onload=function(){
              window.chatwootSDK.run({
                websiteToken: '<PASTE_YOUR_WEBSITE_TOKEN_HERE>',
                baseUrl: BASE_URL
              })
            }
          })(document,"script");
        </script>
    </body>
</html>
Now run the above HTML file using any server like using npx,
npx serve index.html
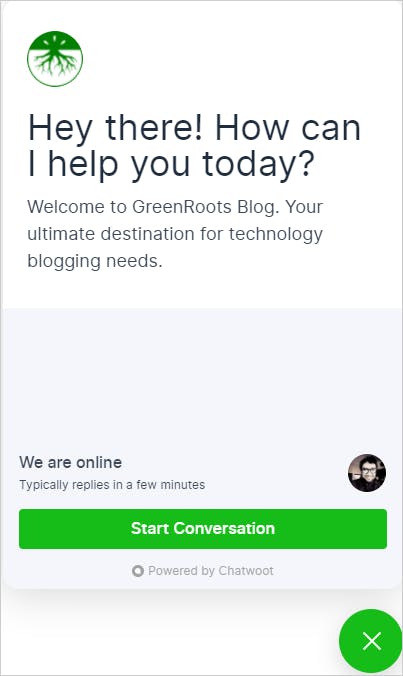
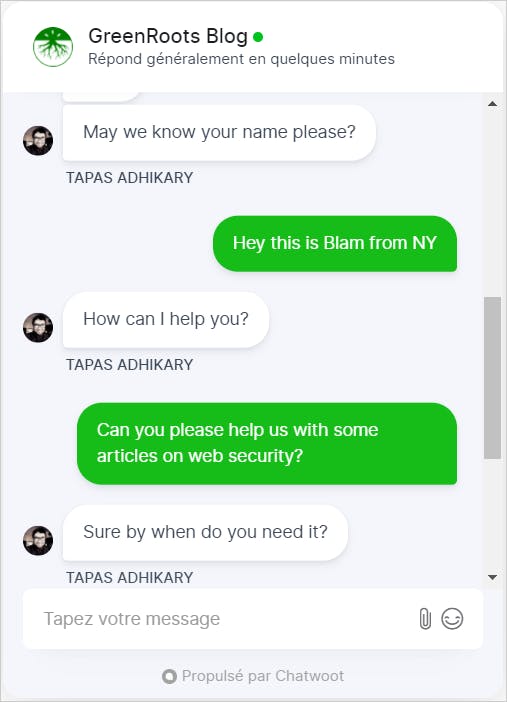
Now, you will be able to access the page at localhost:5000. You will see the chatwoot button appearing at the bottom-right corner of the page. Assume this is the website your customer is using.
The customer can initiate a chat by clicking on the Start Conversation button.
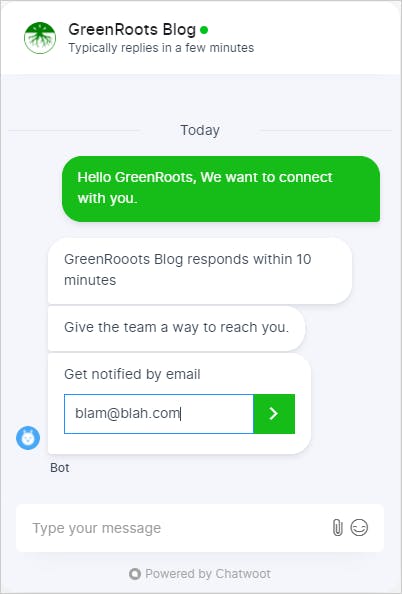
Once your customer sends the first message, the chatwoot bot asks for the customer's email id to contact and notify over email.
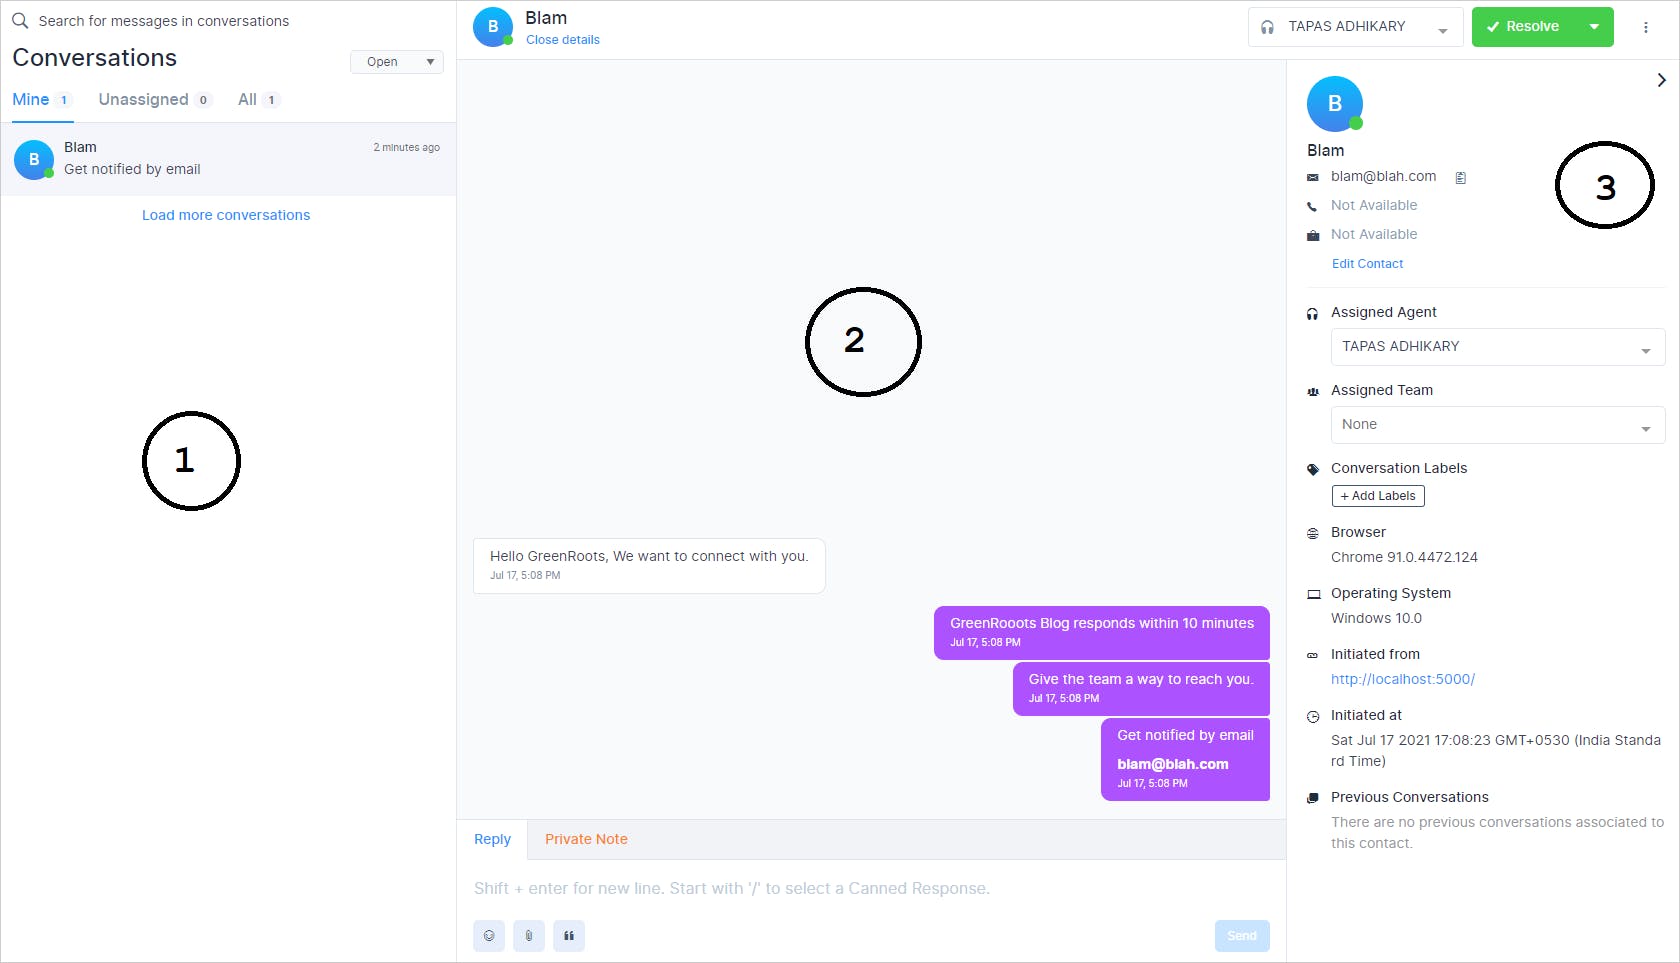
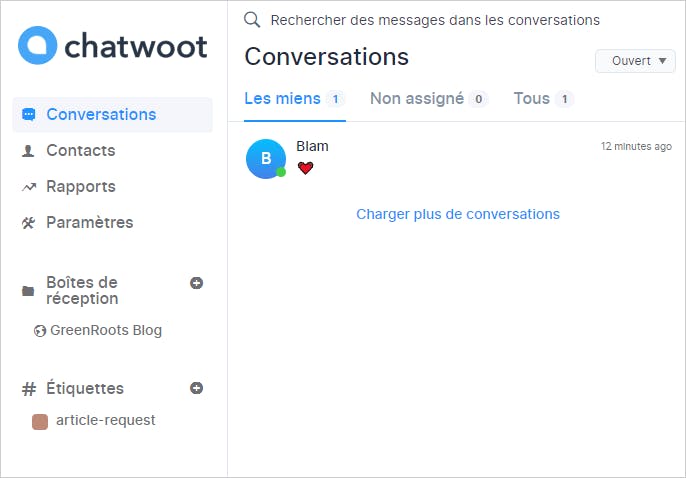
As an agent(member of the customer support team), you will find all your customer's conversations under the Conversations option in the chatwoot dashboard. The Conversations option has three primary sections.
- To list all the conversations for a customer for a website/app(channel).
- All the chats from a customer. This section also allows an agent to reply to a conversation and take private notes that are not visible to the customer.
- The details of the customer and the agent.
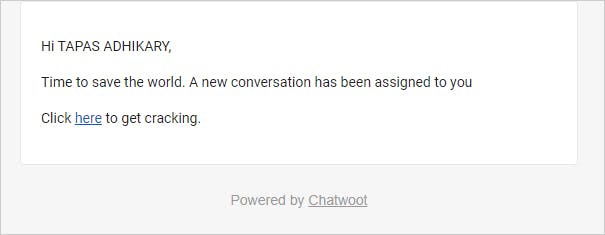
Using the above conversations interface, an agent can send the reply back, and the customer can view and respond to it in real-time. Please note, when a customer initiates a conversation, chatwoot notify an agent immediately by sending an email like the one we see below.
The entire chat history with all the edits is preserved in chatwoot for any future references. Chatwoot intelligently assigns a ticket to the agents who have access to the inbox depending on their availability and load.
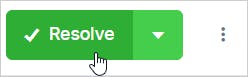
As an agent, you can choose to mark a conversation as resolved at a logical stage. To do that, you need to click on the Resolve button at the top-right corner of the page.
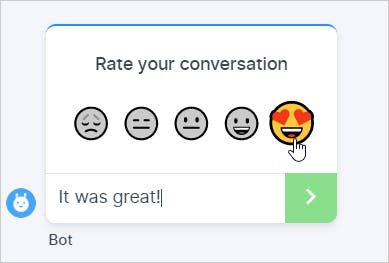
Your customer will get a CSAT survey if it is configured for that channel.
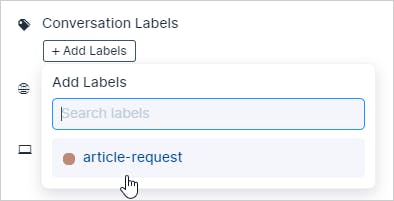
Labels
You can create labels and use them for different purposes. Labels are plain text to indicate anything of your choice. You can create as many labels as you want and use them later in a conversation. Adding a label to a conversation adds additional context to it. It also helps to identify a conversation quickly.
Canned Response
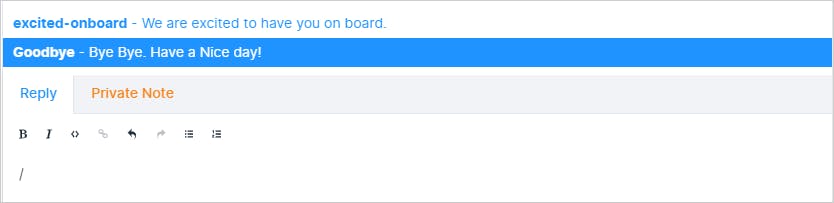
As an agent, you may be using many of the interactions again and again. How about save them somewhere and use them? It will save you from typing longer sentences and your response time to a customer also improves dramatically. You can add canned responses by providing a shortcode and a detailed message against it. You will use this shortcode later to identify the detailed message while writing a response to a customer.

Then while writing a response, use the / key to get the list of canned messages to chose from. The shortcode will help to identify the message you are looking for.
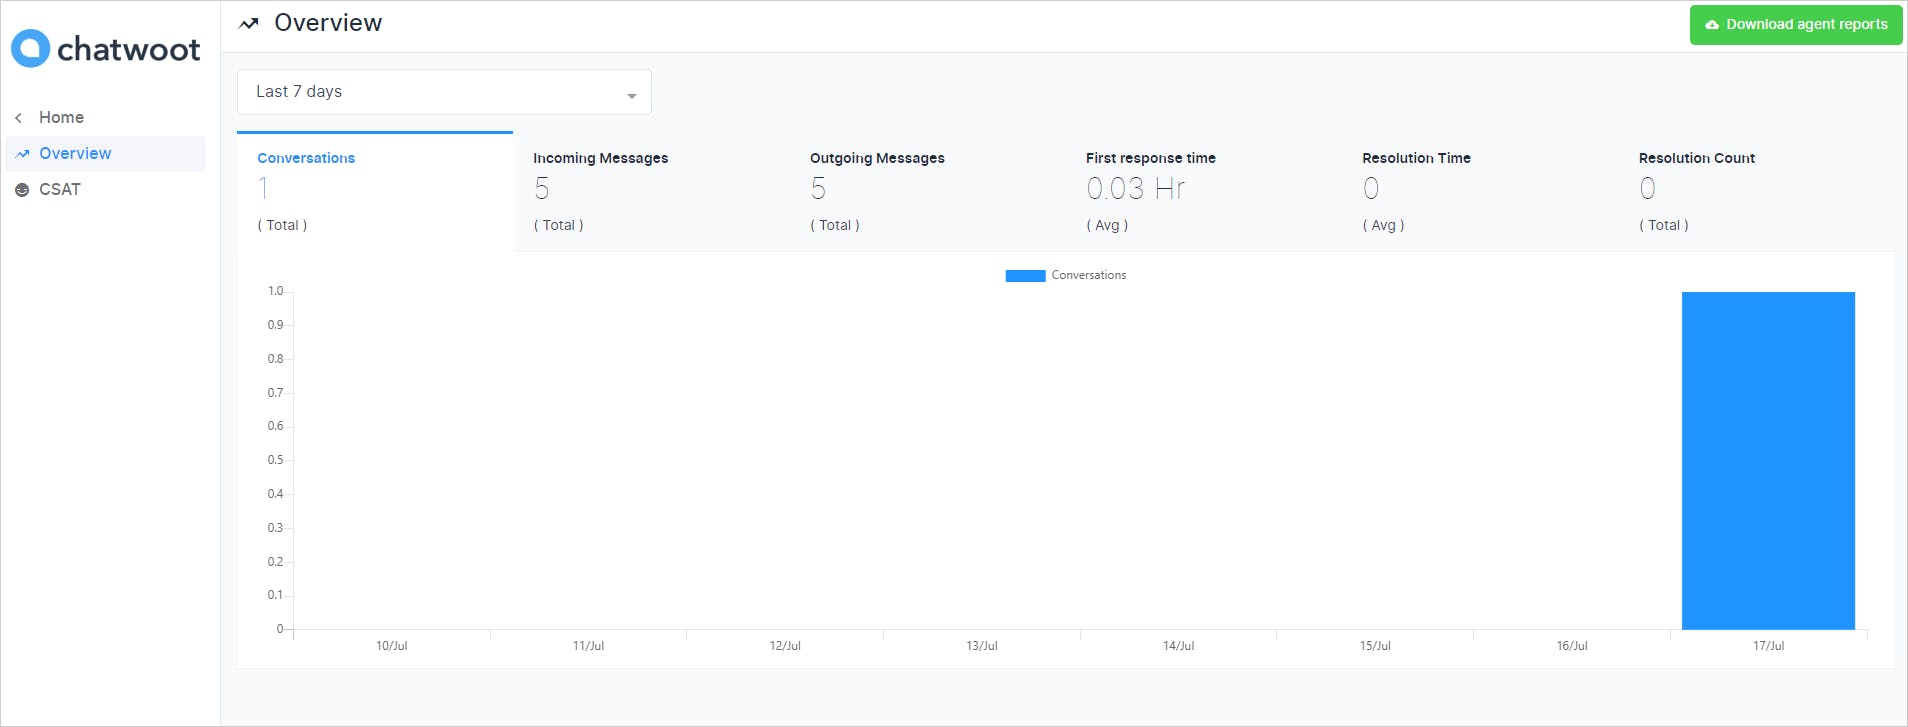
Reports
As an organization, business owner, you need to audit things. You need to know how your customers are responding. That's where the Reports helps. You can navigate the Reports option to view the Overview report for a different time range and a Customer Satisfaction(CSAT) report. You can also download the overview report to view it offline.
Application & Integrations
Chatwoot enables you to integrate with an external chatbot system using Dialogflow and quickly connect them to your inbox. This way, bots handle the queries before handing them off to a customer service agent.
You can also integrate the Slack application with chatwoot to get notified of all the new conversations in your account right inside your Slack. Additionally, the webhooks integration helps to communicate the events to your favorite apps like Slack or Github. Click on Configure to set up your webhooks.
Multilingual Chat Support
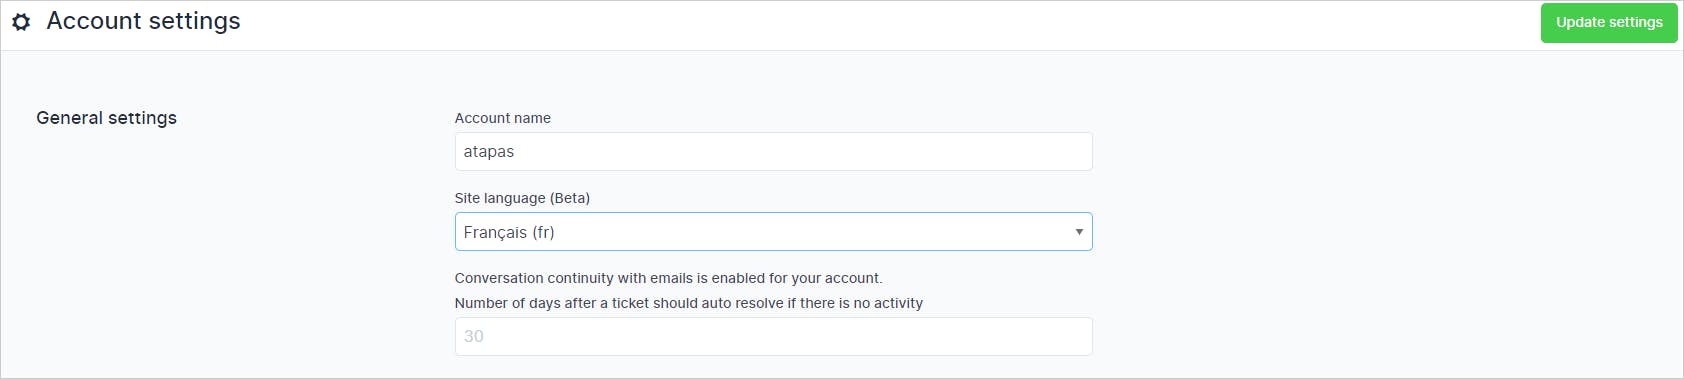
Chatwoot supports 25+ languages out-of-the-box. It means you can set up chatwoot to run on the language of your choice. You can select a language from the General settings under the Account settings and apply the change.
Now the chatwoot app will show all the texts in the selected language.
The customer-facing chat will also respond to this change. It will render the texts in the selected language.
What if you do not find a language in the set of the supported languages by chatwoot? Don't worry. We will learn how to add new language support in the next article.
Before We End...
That's all for now. I hope you've found this article insightful and that it helps you understand chatwoot usages clearly. Let's connect. You will find me active on Twitter (@tapasadhikary). Feel free to give a follow. I've also started sharing knowledge using my YouTube channel so that you can check it out, too.
This article was originally published on Aviyel. For everything Open Source, follow @aviyelHQ or sign up for early access if you are a project maintainer, contributor, or just an Open Source enthusiast.