


In most cases, a development team is blessed with a bunch of smart test engineers to make sure the code, function, module and finally the product is of High Quality. There are established processes, product delivery models, and defined life-cycle for software delivery.
Still, who can deny a situation like this:
 image courtesy: utest.com/articles/software-testing-jokes-j..
My learning from a situation like above is, A developer can do lots to minimize this with careful attention to Testing. Test-Driven Development(TDD) is one of the key areas to put our focus on. In this post, I am attempting to introduce the cool JavaScript Test Framework called, Jest which helps to do TDD with ease and fun.
Jest is an open-source project maintained by Facebook. It works well with projects using React, but not limited to that. It can test any other projects written using, TypeScript , Angular , Vue , Node.js , Babel , even with vanilla JavaScript. In fact, this post is about Setting up a simple Node based project with Jest Framework.
Jest is very similar to Mocha as a tool with few differences:
- Jest requires very few configurations than Mocha. Jest mostly works Out-of-the-box.
- Jest is all batteries included. It means it works without having to interact with other testing libraries to perform its job.
- Mocha is more established and around much before Jest.
Installation
I am not using the create-react-app which has Jest already installed. As the focus here is to set up a non react app with Jest, we will do it from the scratch.
Jest can be installed with Yarn or npm. In this post, I'll be using npm. Feel free to use Yarn if you are comfortable with it.
npm install --save-dev jest
As Jest is not needed in Production, we have installed it as devDependencies part of the package.json file.
I will be using Babel and it can easily be enabled by installing the following packages:
npm install --save-dev babel-jest babel-polyfill
I am using Babel version 7, I would need to install, babel preset environment package as well:
npm install --save-dev @babel/preset-env
That's all about the Installation. Once all the above are installed, you should see the devDependencies in package.json file with following entries(Note, the versions may differ based on the time of installation and availability of the packages):
"devDependencies": {
    "@babel/preset-env": "^7.4.4",
    "babel-jest": "^24.7.1",
    "babel-polyfill": "^6.26.0",
    "jest": "^24.7.1"
  }
Few Configurations
We need to do very minimal configurations for the project to start working.
- We need a Configuration file for Babel. Create a file named,
.babelrcat the root of the folder(same level as thepackage.jsonfile) and add the following entry:{ "presets": ["@babel/preset-env"] } - Now, we need a Configuration file for Jest. Create a file named,
jest.config.jsat the root of the folder. At this point, the file can have only this entry:module.exports = {}; - In
package.jsonfile, add an entry for scripts as;"scripts": { "test": "jest --config jest.config.js" } `
That's All. The Setup is done! 😆
Time to Write the First Test Code using Jest
Let's assume, we are building a simple Calculator that helps to do operations like, Addition, Subtractions, Multiplications, and Divide. With Test-Driven Development(TDD) approach, I will first focus on writing test cases for the Calculator Operations. As there is no Calculator code yet, I will assume that there is a source file called, calc.js which has all the operations defined. Now Its time to create a file called, calc.test.js to write the tests for those Operations.
Test for Addition Operation
import { add }  from '../src/calc';

test('add of 1 + 2 to equal 3', () => {
    expect(add(1, 2)).toBe(3);
});
Note that, the semantic is so awesome. You can form a statement in English just by reading the above code as, "Test if add of 1 + 2 is equal to 3 where we expected by calling the add function passing 1 and 2 as parameters to get the output as 3".
toBe is called Matchers. Read about other Jest Matchers Here.
Now let us see the corresponding source file with all other operations included:
 const add = (a, b) => a + b;
 const sub = (a, b) => a - b;
 const multi = (a, b) => a * b;
 const div = (a,b) => a/b;

export { add, multi, sub, div };
A full version of the test file would look like:
import { add, sub, div, multi}  from '../src/calc';

test('add of 1 + 2 to equal 3', () => {
    expect(add(1, 2)).toBe(3);
});

test('multiplication of 3 and 5 is equal 15', () => {
    expect(multi(3,5)).toBe(15);
});

test('substraction of 33 and 30 to equal to 3', () => {
    expect(sub(33, 30)).toBe(3);
});

test('division of 15 and 3 is equal to 5', () => {
    expect(div(15, 3)).toBe(5);
});

test('Add of 2 and 3 should not be 7', () => {
    expect(add(2,3)).not.toBe(7);
});
Run the Test
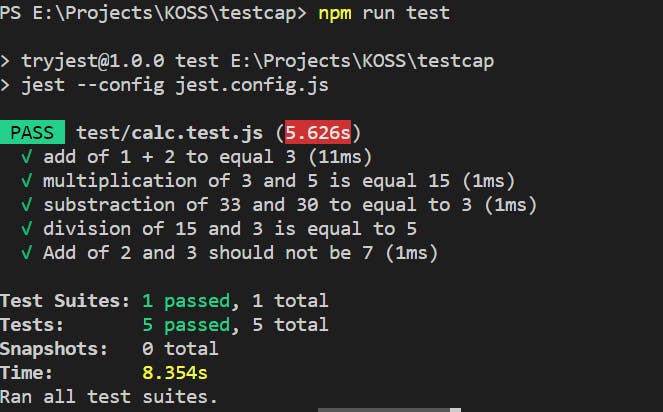
Congratulations on writing your first test with Jest. Let us run the test. It is simple. Just do:
npm run test
You should see the test output as:
How about Code Coverage?
Code coverage is the percentage of code that is covered by the tests. Jest has in-built support of Code Coverage just by doing some minimal Configuration change. Let us try to find the Code Coverage for our Calculator test.
Edit
jest.config.jsfile and add following lines:module.exports = { // Flag to indicate if Code Coverage to be collected and reported collectCoverage: true, // An array of glob patterns indicating a set of files for which coverage // information should be collected collectCoverageFrom: ['src/**/*.{js,jsx,mjs}'], // The directory where Jest should output its coverage files coverageDirectory: 'coverage' }- Next, run the test again:
You will see the Code Coverage report as:npm run test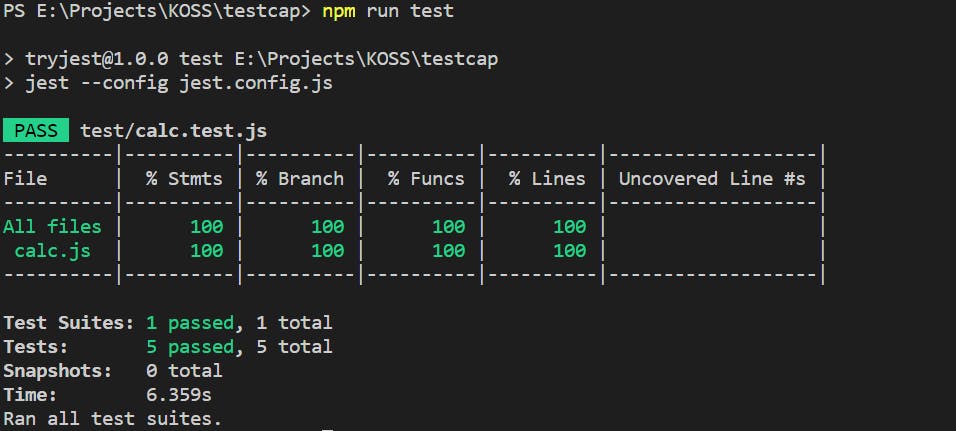
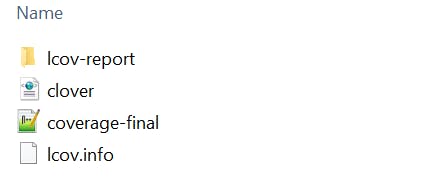
Also as configured, you will find a directory called coverage with all the reports:
Some more Coolest Configurations
You can play around with some of the coolest configuration of Jest. Here is the one I like.
Add this property to the jest.config.js file:
   // Allows for a label to be printed alongside a test while it is running.
    displayName: {
      name: 'THOUGHT DUMP',
      color: 'blue',
    },
Now, if you run the test, you would see the name THOUGHT DUMP marked for this test. When you have multiple jest config files for your project, you can use the display name option to separate out the test results.

An awesome VSCode Extension
If you are a fan of VSCode Editor, here is an awesome extension for you. Add it to the editor and enjoy:
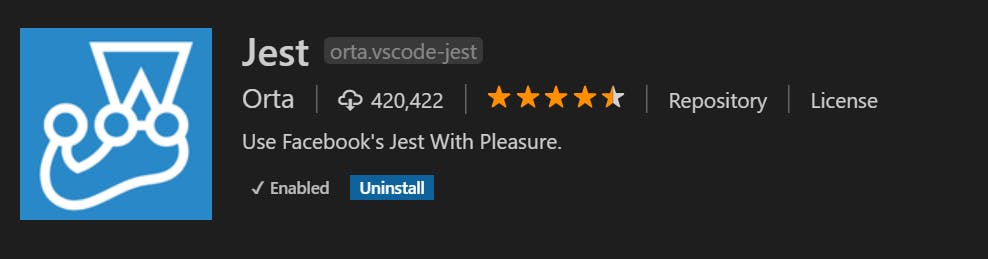 More Details: github.com/jest-community/vscode-jest
Last but not the least
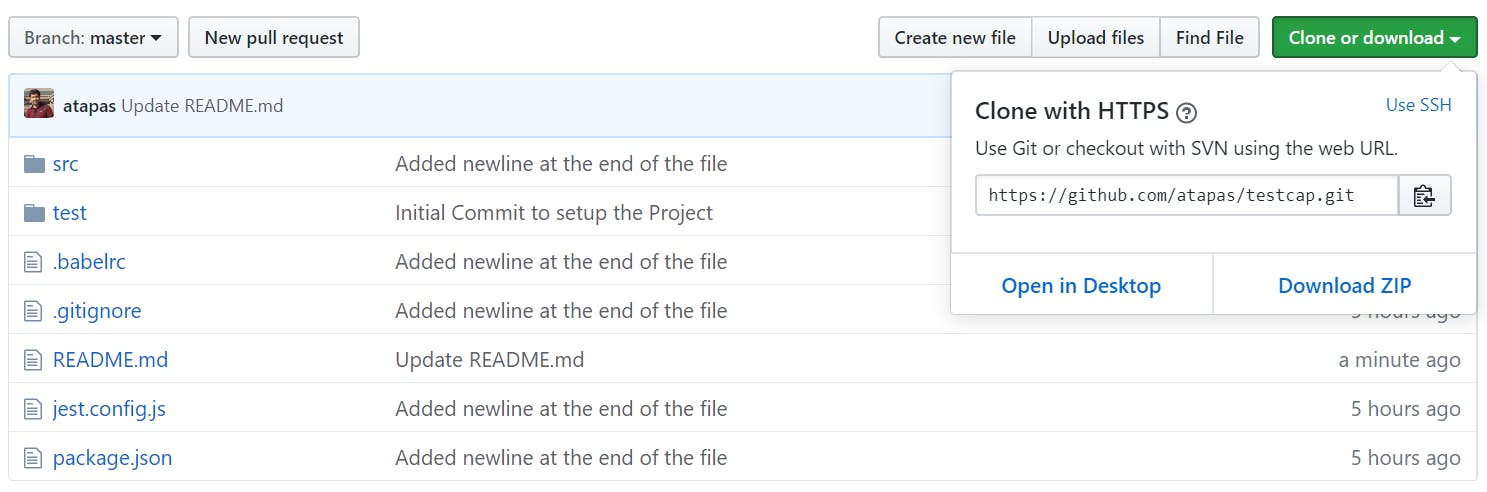
All the code used in this post are hosted here. Just clone and use it.
Hope you liked the post. Stay Tuned for more on JavaScript Testing using Jest.